

The patch looks great. The press is hot. You've done this a thousand times. What could go wrong?
Actually, quite a few things.
If you've spent any time applying patches, vinyl, DTF transfers, or other heat-applied products, you know that not every hat or material behaves the same way.
Even when your heat press settings are dialed in, a change in fabric, color, or hat construction can completely change your results.
Sometimes a black hat presses beautifully while the same hat in red leaves a scorch mark. Sometimes a patch bonds perfectly, while another material needs additional cooling time before the adhesive stabilizes.
Here are five things worth watching for, even if you've been heat pressing for years.
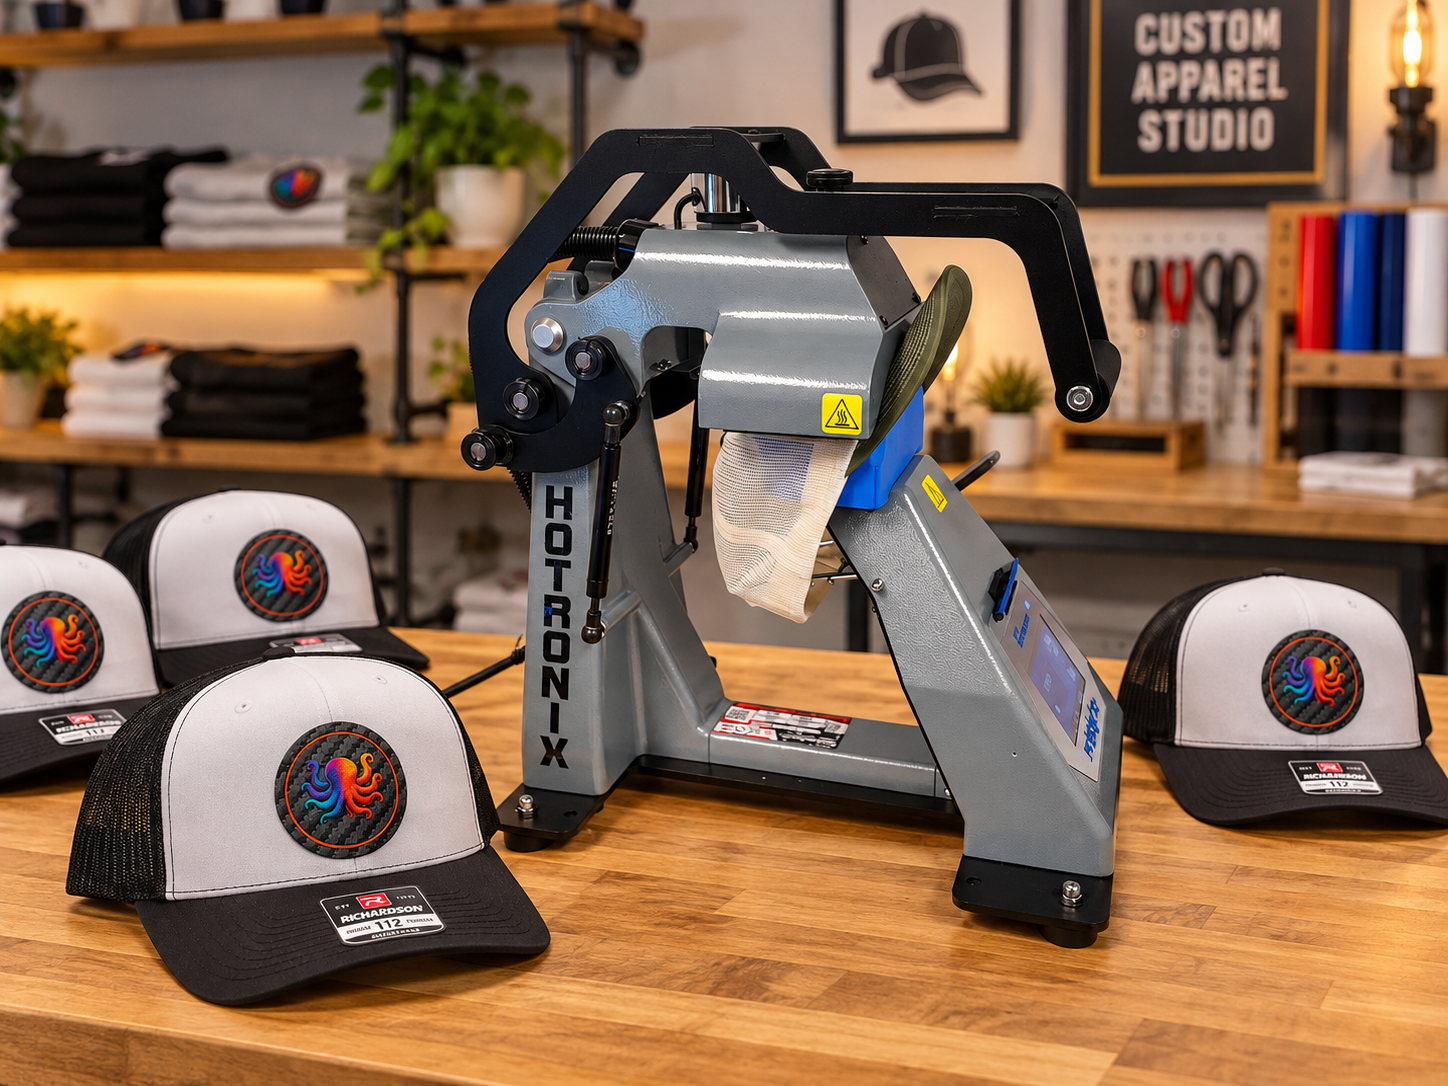
Consistent patch application starts with the right heat press setup.
1. Assuming Different Colors Will Press the Same
Here's something that can catch even experienced decorators off guard.
You heat press a black hat. Perfect results.
You press the exact same hat in blue. No problem.
Then you grab a red or green version of that same hat, use the same settings, and suddenly you're looking at a scorch mark or discoloration.
Different colors can react differently to heat, even when the hats are made from the same type of material.
Dyes, fabric finishes, and manufacturing differences can affect how a material responds to heat.
The Better Approach
Before applying patches to a new hat style or color, do a test press on an inconspicuous area without a patch.
Check for scorching, shine, discoloration, or other damage.
If you notice an issue, experiment with:
- Reducing the pressing temperature.
- Shortening the dwell time, meaning how long the press stays closed.
- Using a combination of lower heat and shorter dwell time.
The goal is to find settings that protect the material while still allowing the patch adhesive to bond properly. Always verify adhesion after making adjustments.
A protective cover can also help with heat-sensitive materials. A flexible finishing sheet is designed for applications involving performance fabrics and other heat-sensitive materials. Test it with your specific material and patch, and follow the sheet's temperature limitations.
PRO TIP: Don't assume that because you've successfully pressed one color of hat, every other color in that product line will behave the same way.
2. Using the Wrong Bottom Platen for Your Hat
Getting even pressure across a curved hat can be challenging.
And one of the most common reasons for inconsistent adhesion isn't the patch or the temperature.
It's the shape of the lower platen.
Different hats have different curves. Some are structured, some are unstructured, and some have noticeably different crown shapes.
If your lower platen doesn't match the curvature of the hat, certain areas may receive less pressure than others.
The result? A patch that looks great in the middle but starts lifting along an edge.
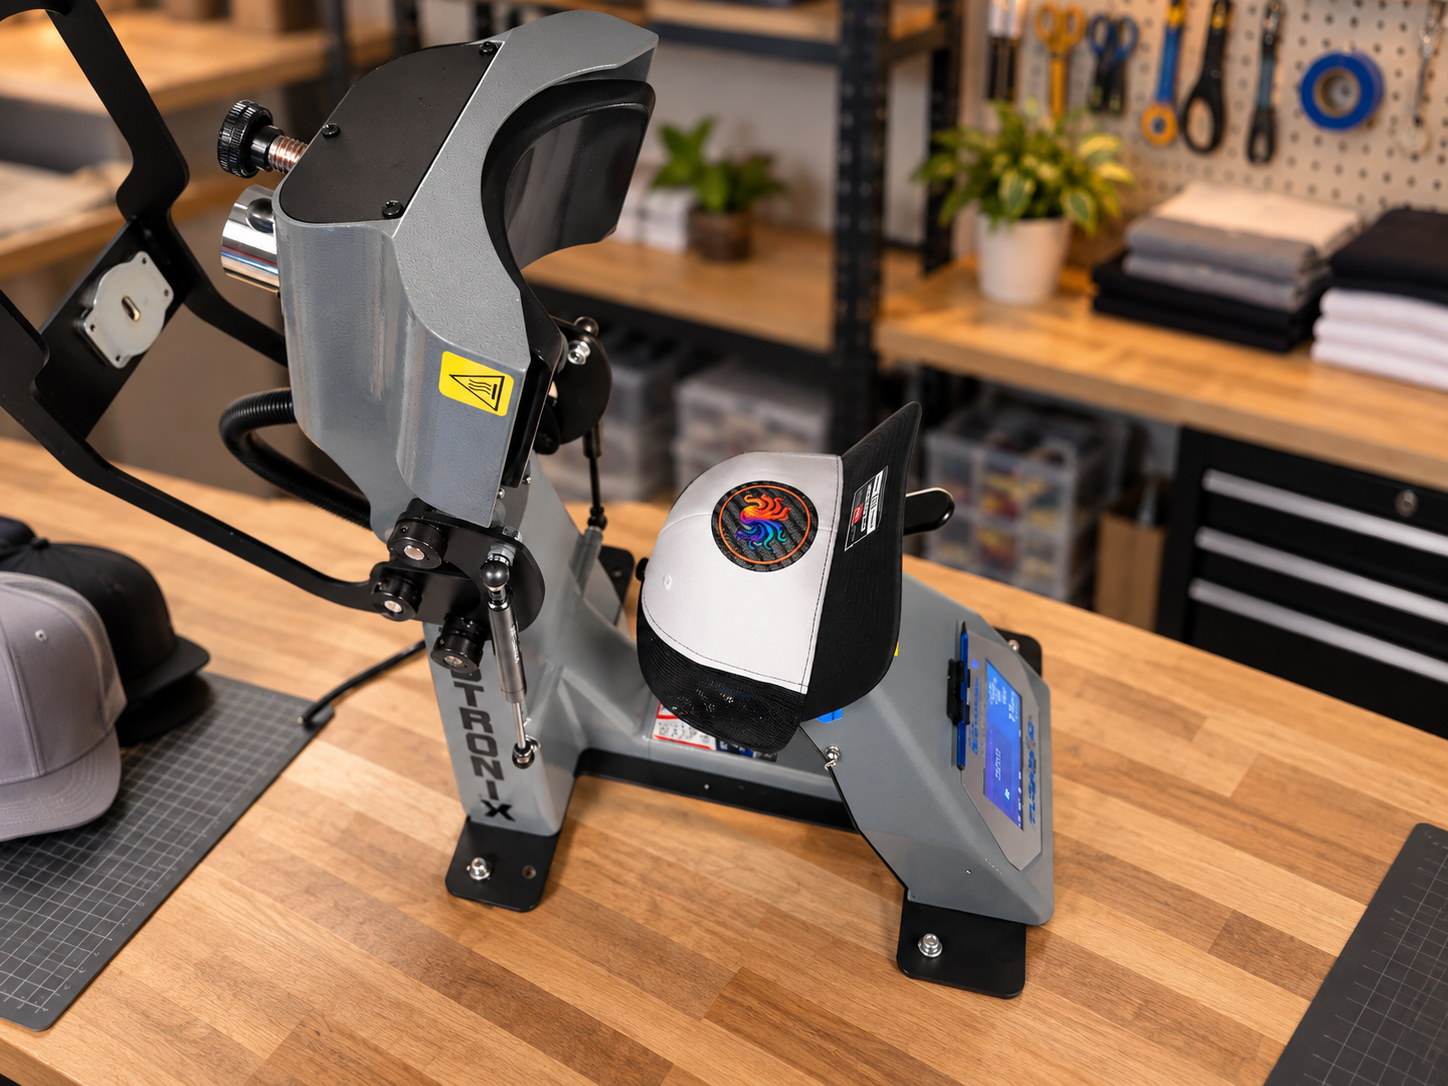
A properly supported hat helps distribute pressure across the entire patch.
The Better Approach
Whenever possible, use a lower platen that matches the shape and curvature of the hat you're pressing.
If your press doesn't have a platen that fits properly, you still have options.
Heat-resistant foam, a Teflon heat press pillow, or other press-compatible cushioning materials may help compensate for certain uneven surfaces and differences in support.
A Teflon pillow can be especially useful when pressing around seams, raised areas, or other features that interfere with even pressure. For curved hats, make sure the pillow or padding fits your press safely and doesn't interfere with proper platen contact.
The key is consistent contact across the entire patch.
PRO TIP: Before changing the temperature to fix lifting edges, check how the hat sits on your lower platen. Sometimes better support is all you need.
3. Ignoring How Different Materials Hold Heat
Not all fabrics heat up and cool down at the same rate.
Some materials seem to release their heat quickly. Others stay noticeably hot long after you've opened the press.
This matters for two reasons.
First, heat-sensitive materials can scorch, discolor, develop shiny spots, or suffer other damage during application.
Second, the amount of heat retained by the material can affect how quickly the patch adhesive cools and stabilizes.
You might find that a patch feels securely bonded almost immediately on one material, while another requires more cooling time before it should be handled.
The Better Approach
If a material scorches or discolors, experiment with reducing the temperature, shortening the dwell time, or both. Test the adjusted settings to make sure you're still getting proper adhesion.
If a material holds heat longer than expected, give it additional time to cool before handling or flexing the patch.
For production environments where quicker cooling is useful, you can also experiment with external cooling methods.
A cool, clean metal block can act as a heat sink. A protected cooling pack may also help draw heat away from the material.
Just make sure your cooling method doesn't introduce moisture, create sudden temperature-related damage, or mark or distort the decoration. Test any accelerated cooling technique before using it in production.
PRO TIP: A patch that doesn't feel completely secure while everything is still very hot may simply need additional cooling time. Don't immediately assume it needs more heat.
4. Not Using Enough Heat-Resistant Tape
Heat tape is your friend.
Seriously.
If you're pressing patches onto hats, a good roll of heat-resistant tape might be one of the least expensive tools in your shop.
Even when a patch looks perfectly positioned, closing the press can cause it to shift slightly.
And when you're applying patches to curved surfaces, keeping everything aligned can be especially challenging.
A small movement can mean a crooked patch and a wasted hat.
The Better Approach
Use a generous piece of heat-resistant tape to hold the patch in position before pressing.
With OctoPatches, you can often reuse the same piece of tape multiple times.
Position your patch, secure it with the tape, and heat apply.
Then use that same piece on the next hat.
Keep using it until it no longer sticks well enough to reliably hold the patch in place.
Just make sure the tape remains clean and isn't leaving adhesive residue or damaging the fabric.
PRO TIP: Don't try to save half a penny on tape when you're working with a hat that costs several dollars. A larger piece of tape can make positioning easier and is much cheaper than replacing a finished product.
5. Thinking Every Hat Needs the Same Cooling Time
For most everyday patch applications, you can open the press and remove the hat from the platen right away.
There's usually no reason to leave every hat sitting on the press for an extended period.
But as we mentioned earlier, different materials can retain heat differently.
Some hats cool quickly and can be moved through production without much delay. Others may stay hot longer, and the patch adhesive may need more time to cool and stabilize.
On those materials, avoid immediately stretching, bending, or disturbing the patch.
Give the product a little extra cooling time before checking the bond or stacking finished hats.
You can move the hat off the press without touching or flexing the hot patch itself.
And here's one rule worth remembering regardless of the type of heat transfer you're using: Wait at least 24 hours before the first wash.
That's a good standard practice for:
- Heat transfer vinyl (HTV)
- DTF transfers
- White toner transfers
- OctoPatches
Always follow the specific manufacturer's instructions if they require a longer wait or different care conditions.
Giving heat-applied decorations adequate time before washing is a simple way to help protect your finished work.
PRO TIP: If you're running a new hat style or material, let your first finished product cool completely and inspect it before committing to the rest of the production run.
A Quick Reminder for Applying OctoPatches
Our standard OctoPatches application instructions recommend:
- Remove the clear plastic carrier sheet from the back of the patch.
- Position the patch on the item.
- Cover it with a protective sheet.
- Heat press at 320°F for 15 seconds with medium pressure.
- Allow the patch to cool before handling or flexing it.
- Wait at least 24 hours before washing.
These are our standard starting instructions. When working with heat-sensitive materials, always test the blank first and verify proper bonding if you adjust the time or temperature.
View the Complete OctoPatches Heat Application Guide →
Consistent Results Come From Paying Attention to the Details
Experienced decorators know that heat pressing isn't always a one-setting-fits-all process.
Different colors can react differently. Hat curves don't always match your press. Materials retain heat differently, and even a slight movement can throw off your patch placement.
The good news is that many of these problems are avoidable.
A quick test press, the right lower platen, some heat-resistant tape, and a little patience during cooling can make a big difference in your finished products.
Great patches are important. Great application is what makes them look their best.
Ready for Your Next Production Run?
Create custom patches online with instant proofs, no minimums, and fast production.
Start Making Custom Patches