

For most hat fronts, a patch between 2.25" and 3.5" wide hits the sweet spot. Drop to 1.5"–2.5" for beanies, side panels, or back placements where space is tighter.
The most-ordered sizes in custom hat production are:
- 3" x 2" rectangle — the go-to for trucker hats, snapbacks, and fitted caps
- 2.25" circle — clean and versatile for almost any hat style
- 3.5" x 2.5" rectangle — for trucker hats with tall, stiff front panels that can carry the extra real estate
- 2" x 1.5" rectangle — a compact option for dad hats, low-profile caps, and side placements
- 1.5"–2" circle or oval — the right range for beanies and back-panel logos
Custom hat producers confirm these as the most frequently ordered dimensions, and they’re a reliable starting point before you print a mockup or place an order.
Pro Tip: Print your intended patch size on paper, cut it out, and tape it to the hat before ordering. What looks right on screen often reads differently on a curved front panel.
Key Takeaways
| Point | Details |
|---|---|
| Front-panel standard sizes | A 3" x 2" rectangle and 2.25" circle cover most trucker, snapback, and fitted cap applications. |
| Usable-zone rule | Keep patch width within 60%–80% of the hat front’s usable width to avoid a cramped or oversized look. |
| Beanie width limit | Beanies need patches between 1.5" and 2.5" wide; wider patches curl on stretch fabric. |
| Edge clearance | Leave 0.25" of clear space between the patch edge and any seam or brim stitching. |
| Octopatches ordering | Octopatches offers no-minimum heat-applied patches with a professional design setup option for text-heavy or fine-detail artwork. |
Table of Contents
- Why does hat patch size affect how your hat looks and feels?
- Standard patch sizes at a glance
- What size patch works best for each hat type?
- How does patch shape change the way a design reads?
- How does attachment method affect the size you should order?
- How do you measure and place a patch on a hat?
- Production constraints and minimum sizes you should know
- The size question most people get wrong
- Ready to order patches that fit your hat perfectly?
- Sources
Why does hat patch size affect how your hat looks and feels?
Size is the single biggest variable in whether a patch looks intentional or accidental. On a structured trucker hat with a tall, stiff front panel, a 3" x 2" patch sits flat and reads clearly from across a room. Put that same patch on a soft, unstructured dad hat and the edges may curl, the crown may pucker, and the whole design loses its crispness.
The visual balance shifts, too.
Legibility is the other pressure point. Small text on a patch becomes unreadable fast. As a general guideline, embroidery requires sufficiently tall letters for clarity, while woven patches can handle somewhat finer detail. Letters below certain minimum heights risk blurring together and losing impact.
- Structured crowns (trucker, snapback, fitted) support larger, stiffer patches without distortion
- Unstructured crowns (dad hat, low-profile) need smaller, more flexible patches to stay flat
- Knit beanies are the most demanding: stretch fabric causes rigid patches to curl at the edges if they’re too wide
- Legibility floor: keep individual letter heights at or above 0.25" for embroidery; woven patches can go slightly smaller
Pro Tip: Soft, unstructured hats may not handle thick leather or PVC patches well. The rigidity can conflict with the crown’s natural flex and may cause edges to lift after wear.
Standard patch sizes at a glance
Most hat patches fall into three practical size bands. Small patches (roughly 1"–2" wide) work for side placements, back logos, and beanies. Medium patches (3"–4" wide) cover the majority of front-panel applications. Large patches (5" and above) are rare on hats but appear on bucket hats and wide-brim styles.
A few quick callouts:
- Mini (1"–2"): side panels, back patches, beanie cuffs — keep text minimal or logo-only
- Medium (3"–4"): front-panel standard; most logos read clearly at this scale
- Statement (5"+): bucket hats and wide-brim styles only; rarely used on structured caps
- Leave at least 0.25" of clear space between the patch edge and any seam or brim stitching for clean application
What size patch works best for each hat type?
Different hats have different front-panel geometries, and the right patch size follows the hat’s structure, not just personal preference.
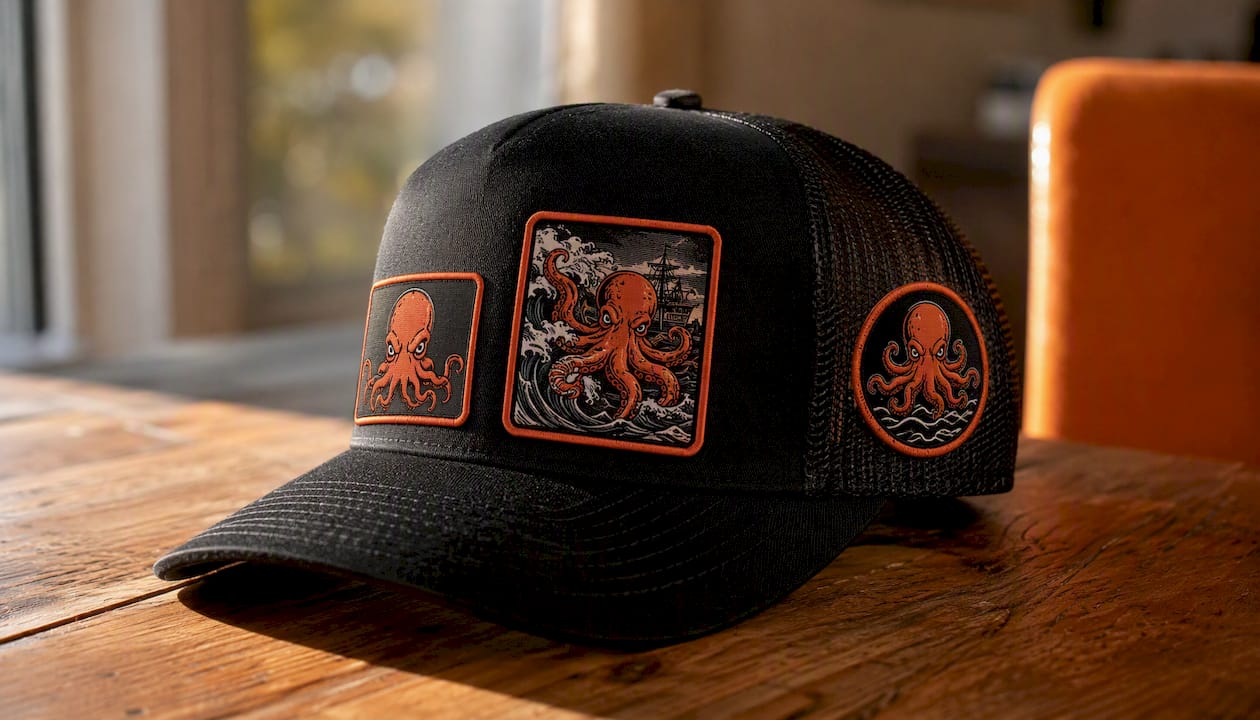
Trucker hats and snapbacks have the most forgiving front panels. Their stiff foam or mesh-backed fronts hold larger patches without distortion. Industry guidance from The Monterey Company confirms that 3" x 2" and 3.5" x 2.5" rectangles are the standard range here, with 2.25" rounds as a clean alternative for circular logos.
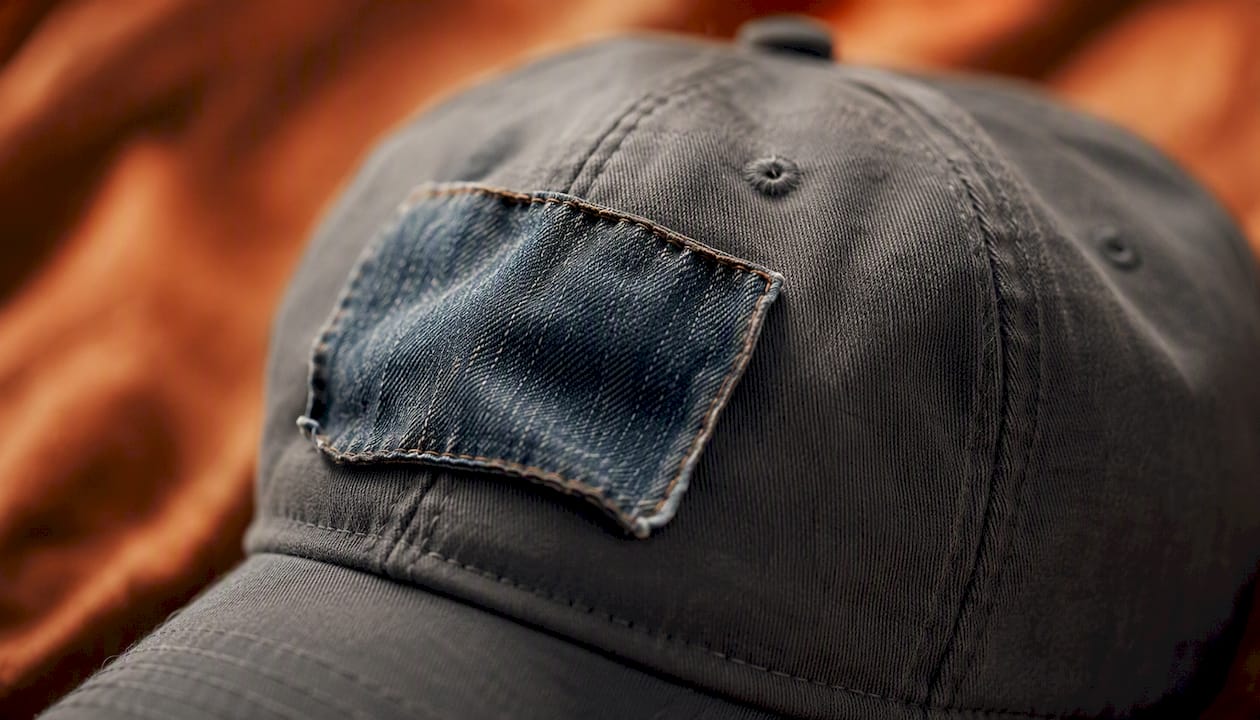
Dad hats and low-profile caps are unstructured, which means the crown flexes with your head. Patches wider than 2.5" tend to create visible stiffness or puckering along the edges. Stick to the 2"–2.5" wide range, and choose flexible materials over rigid ones.
Fitted and structured caps sit between the two extremes. A 3" x 2" rectangle is the classic choice, giving enough presence without overwhelming the curved front. Round patches at 2.25" also work well here.
Beanies are the most restrictive. The knit fabric stretches, and a patch that’s too wide will curl or distort when the hat is worn. Custom patch beanie producers recommend keeping patch width between 1.5" and 2.5", placed on the cuff where the fabric is most stable.
Bucket hats and 5-/7-panel hats give you more flexibility in shape. Bucket hat panels are wide but short, so a horizontal oval or wide rectangle (up to 3.5" wide, but only 1.5"–2" tall) often fits better than a standard rectangle. Five- and seven-panel hats have a front panel similar to a snapback; a 2.25"–3" round or a compact square works well.
- Trucker / snapback: 3" x 2" or 3.5" x 2.5" rectangle; 2.25" round
- Dad hat / low-profile: 2"–2.5" wide; flexible material preferred
- Fitted / structured: 3" x 2" rectangle; 2.25" round
- Beanie: 1.5"–2.5" wide; place on the cuff
- Bucket hat: wide, short rectangle or horizontal oval up to 3.5" x 2"
- 5-/7-panel: 2.25"–3" round or 2" x 2" square
How does patch shape change the way a design reads?
Shape and size interact in ways that aren’t obvious until you hold the patch against the hat. A 2.25" circle and a 2.25" x 1.5" rectangle occupy similar areas, but the rectangle reads as wider and more dominant because horizontal shapes draw the eye across the hat front.
Circles feel compact and centered, which makes them great for badge-style logos and simple icons. They’re forgiving on curved fronts because there are no corners to lift. A wide rectangle suits long wordmarks or logos with a strong horizontal axis. If your logo is taller than it is wide, a vertical rectangle or shield shape preserves those proportions better than forcing it into a landscape frame.
Shield and custom die-cut shapes are measured by their bounding box (the smallest rectangle that contains the shape). That bounding box is what determines how much front-panel space the patch actually occupies, even if the visible patch area is smaller. A shield with a 3" wide bounding box takes up as much horizontal space as a 3" rectangle.
- Circle: balanced, compact; suits icons and badge logos; no corner lift on curved fronts
- Horizontal rectangle: dominant, wide-reading; best for wordmarks and landscape logos
- Oval: softer than a rectangle; good for logos that need width without sharp corners
- Square: geometric and bold; works with compact marks on 5-panel and 7-panel fronts
- Shield / custom outline: measured by bounding box; match logo proportions to the shape to reduce design rework
How does attachment method affect the size you should order?
The way a patch attaches to a hat changes how it behaves on the fabric, and that behavior should influence the size you choose.
Heat-applied patches bond directly to the hat surface without sewing. They work on most hat materials and are the cleanest option for structured fronts. Octopatches’ comparison of patch styles and backings shows how heat-applied patches interact differently with hat structure than sew-on options, which matters when you’re sizing for a specific hat type.
Sew-on patches need a 0.25" seam allowance around the edge, so the visible design area is slightly smaller than the patch’s total dimensions. On curved hat fronts, stitching can also cause slight puckering if the patch is too large or too rigid.
PVC and silicone patches are heavier and stiffer than woven or embroidered options. On soft or stretchy hats, keep them on the smaller end of the recommended range (2"–2.5" wide) to prevent edge lift.
Woven patches hold finer detail than embroidery, which means you can go smaller without losing legibility. Woven patches allow smaller readable text than embroidered ones, where dense stitching requires larger letter heights to stay clear.
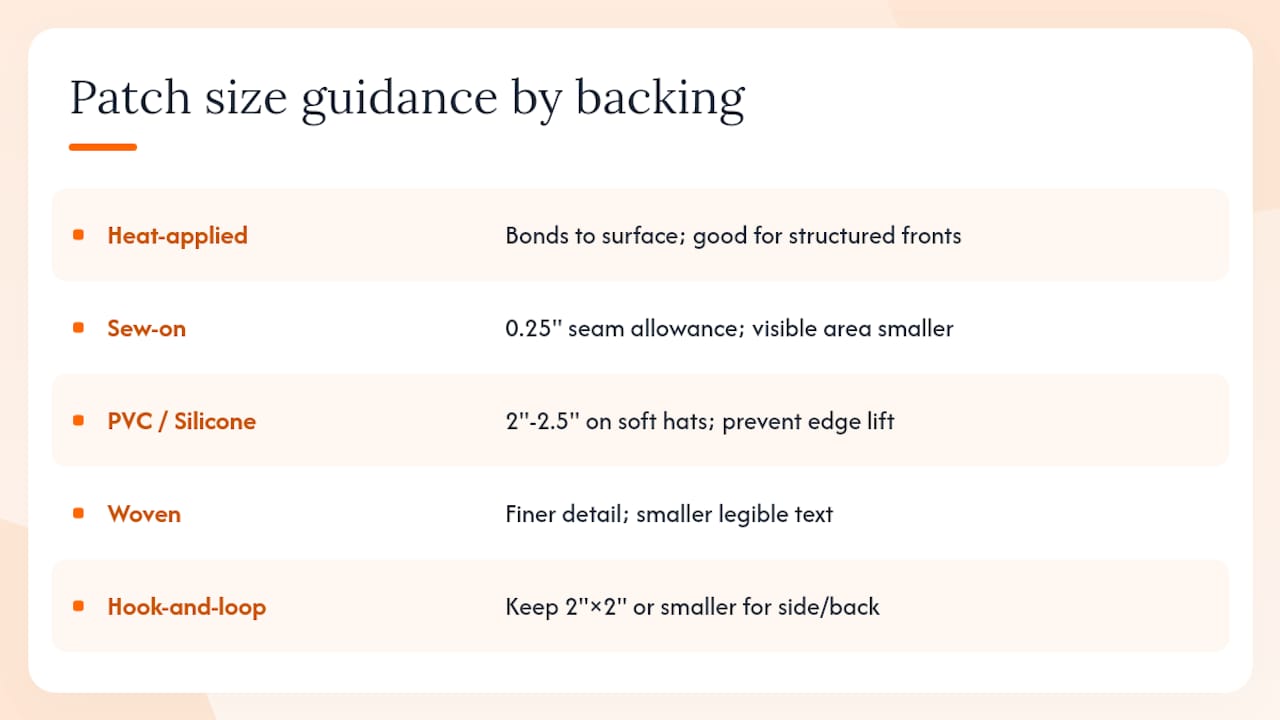
Hook-and-loop (Velcro-backed) and adhesive patches are best for side panels and back placements where you want swappable designs. Keep these at 2" x 2" or smaller for a clean profile.
Pro Tip: For heat-applied patches on structured hats, follow the application instructions carefully — temperature and press time affect how well the patch bonds to the hat’s front panel material.
How do you measure and place a patch on a hat?
Getting the size right on paper is one thing. Testing it on the actual hat before you order is what separates a clean result from a costly reorder.
- Measure the front panel. Lay the hat flat and measure the usable width of the front panel (seam to seam) and the height from the brim stitching to the top seam. Write both numbers down.
- Calculate your usable zone. Multiply the panel width by 0.60 and 0.80 to get your minimum and maximum patch width. For a 4" wide panel, that’s 2.4"–3.2".
- Print scaled templates. Print rectangles and circles at your target sizes (2.25", 3", 3.5") on plain paper. Cut them out precisely.
- Tape and test. Tape each cutout to the hat front and step back. Check balance, proportion, and whether the shape suits your logo.
- Mark your placement. For front-panel patches, center horizontally and position vertically so there’s a visible gap between the patch bottom and the brim stitching — roughly 0.5"–0.75" of clear space below the patch is a common guideline.
- Check side and back placements. Side patches typically sit 1"–1.5" above the brim and centered on the panel. Back patches follow the same logic but are usually smaller (1.5"–2" wide).
Many patch producers recommend printing and taping mockups at 2.25", 3", and 3.5" before committing to an order — it’s the fastest way to confirm visual balance without spending on samples.
Pro Tip: Order a physical sample before a full production run. A 0.25" difference in patch width can look minor in a file but read very differently on a curved hat front.
Production constraints and minimum sizes you should know
Every production method has a floor below which quality breaks down. Knowing those limits before you finalize artwork saves you from reprints and redesigns.
For embroidered patches, individual letter heights should be at least 0.25"–0.3" for the text to stay legible. Thin serifs and fine lines tend to merge into the background at small sizes. Woven patches handle finer detail and can go slightly smaller, but even woven text benefits from clean, bold letterforms at hat-patch scales.
Material-specific notes:
- Heat-applied faux leather, denim, or carbon fiber: minimum practical size is roughly 1.5" wide; below that, fine details in the artwork may not transfer cleanly
- PVC/silicone: avoid very small sizes (under 1.5") because the mold detail degrades; also keep these patches on the smaller end for stretchy hats
- Woven: can go as small as 1" wide for simple icons, but text needs at least 0.25" letter height
- Embroidered: 1.5" wide is a reasonable minimum for anything with text; icon-only patches can go slightly smaller
When you’re ready to order, confirm the bounding-box dimensions with your supplier, not just the visible design area. Request artwork conversion or professional design setup if your logo has fine lines, gradients, or small text — these elements often need adjustment before they translate cleanly to a patch at hat scale.
Octopatches offers no-minimum heat-applied custom patches in faux leather, denim, carbon fiber, and more, with a professional design setup service for artwork that needs optimization before production.
The size question most people get wrong
Most people obsess over finding the “perfect” size before they’ve held a physical patch against their hat. The number on the spec sheet and the patch on the hat are two different experiences. A 3" x 2" rectangle looks authoritative in a mockup file and can look either bold or bulky depending on the hat’s crown height, material, and color.
What it does is eliminate the obvious mistakes: the patch that crowds the entire front panel, and the patch so small it reads as a sticker from ten feet away. Within that zone, proportion and shape do the real work.
The overlooked variable is material thickness. A heat-applied faux leather patch at 3" x 2" sits differently on a hat than a woven patch at the same dimensions. The leather version has more body, which reads as slightly larger visually and behaves differently on a curved front. If you’re switching materials between orders, test the new material at the same size before assuming the result will match.
Order a sample. Every time.
Ready to order patches that fit your hat perfectly?
Sizing a patch correctly is half the work. The other half is choosing a material and backing that suits your hat type and holds up over time. Octopatches makes that second half straightforward: no minimum order, heat-applied custom patches in faux leather, denim, carbon fiber, canvas, camo, and more, with no sewing required.

Not sure which material works for your hat style? The compare patch styles page breaks down how each backing and material combination behaves on different hat types. If your artwork has fine text or complex detail, the professional design setup service converts your file into a production-ready format optimized for hat-patch scale. Measure your front panel, print a template, and place your order when you’re confident in the size.
Sources
- Choosing the Right Patch Size for Hats | The Monterey Company
- Hat Patch Sizes: How to Choose the Right Size for Custom Hats- Implementer
- Custom Woven Patches for Hats: The Definitive Guide (2026)