

A typical iron-on patch lasts a moderate number of wash cycles when applied with a household iron, while a professionally heat-pressed transfer can hold strong through many washes, according to industry reporting on heat transfer durability. That gap is real, and it comes down to three things you control right now. First, clean and dry the fabric completely before pressing. Second, use the correct temperature and hold firm pressure for the full dwell time. Third, let the patch cool flat under a book or weight before you move the garment. Those three steps alone push most home applications toward the higher end of the lifespan range.
Three immediate actions to improve adhesion:
- Prep the surface. Wash and fully dry the garment first. Fabric softener, oils, and moisture all weaken the thermoplastic adhesive before it even sets.
- Hit the right heat and time. Most iron-on patches need 300–350°F for 15–30 seconds with firm, even pressure. Rushing this step is the single most common cause of early lifting.
- Cool under pressure. Place a flat, heavy object on the patch for 60 seconds after pressing. The adhesive bonds as it cools, not while it is hot.
Key Takeaways
Professionally heat-applied patches with matched adhesive backing and correct application technique consistently outlast basic home iron-on applications, often by a factor of two or more wash cycles.
| Point | Details |
|---|---|
| Realistic lifespan ranges | Home iron-on lasts 15–25 washes; professional heat press extends that to 40–50+ washes. |
| Application is the biggest variable | Correct temperature (300–350°F), full dwell time, and cooling under pressure determine bond strength. |
| Care habits extend life significantly | Wash inside-out on cold/gentle, air dry, and skip bleach to protect both adhesive and patch material. |
| Sewing makes it permanent | A perimeter stitch around any iron-on patch is the most reliable reinforcement for frequent-wear garments. |
| Octopatches for built-in durability | Industrial adhesive, material-matched backings, and no minimums make Octopatches a strong choice for branded apparel. |
Table of Contents
- What to expect from iron on patches durability across attachment methods
- How adhesive, fabric, and placement change how durable your patches are
- Step-by-step application that gives you the strongest bond
- Laundry and wear care that extends patch life
- How to make an iron-on patch permanent: sewing, adhesives, and reactivation
- Quick fixes and when to replace a failing patch
- Why professionally made heat-applied patches often last longer
- The trade-off most people skip when choosing a patch method
- Durable custom patches, made your way with Octopatches
- Sources
What to expect from iron on patches durability across attachment methods
Patch lifespan ranges widely depending on patch type, application method, and how the garment is used. A sewn-on patch can outlast the garment itself. An iron-on patch on a jacket worn occasionally might look perfect for two or three years. That same patch on a weekly-wear work shirt could start lifting at the edges within a few months.
| Attachment Method | Durability | Best Use Case |
|---|---|---|
| Home iron-on | Moderate wash life | Low-frequency wear, casual projects |
| Consumer heat press | Better wash life | Regular wear, branded apparel |
| Professional heat press | High durability | Uniforms, frequent laundering |
| Sewn-on | Long-lasting | Workwear, high-friction areas |
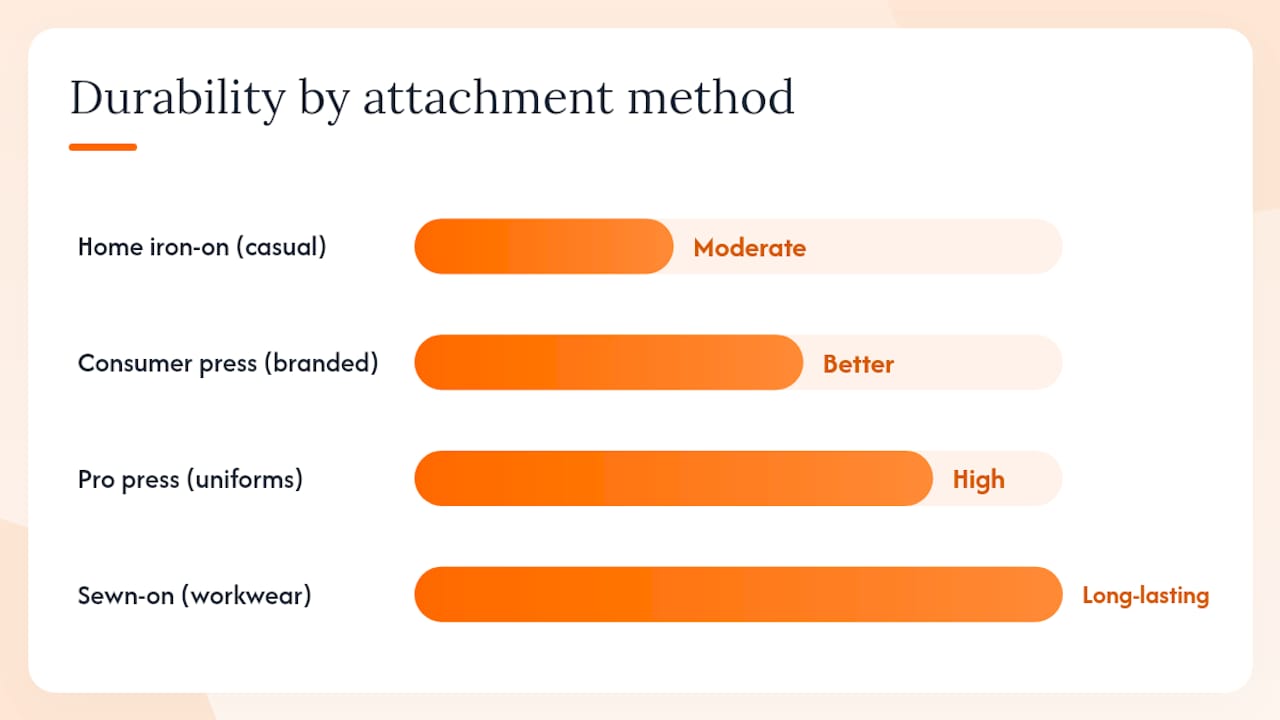
The biggest variable is application quality. A patch pressed at the wrong temperature or for too short a time will fail at wash 5, not wash 20. Fabric type matters too: tightly woven cotton holds adhesive better than stretchy nylon or moisture-wicking polyester.
How adhesive, fabric, and placement change how durable your patches are
The adhesive backing is the first place to look when a patch fails. Most consumer iron-on patches use a thermoplastic adhesive that melts, flows into the fabric weave, and re-solidifies as it cools. That process works well on stable, absorbent fabrics. On coated nylon, waterproof shells, or fabrics with a high synthetic content, the adhesive has nowhere to grip, and the bond stays shallow.
Patch material plays a role too. Embroidered patches are flexible and move with the garment. Stiffer materials like PVC or thick faux leather create a rigid island on a flexible fabric, and the edges experience constant stress with every bend and wash. Engineered adhesive systems, like the UV-cured patch technology used in industrial repair applications, show how purpose-built adhesives matched to a specific substrate dramatically outperform generic options. The same principle applies to apparel: a patch backing designed for the specific material it will bond to lasts longer than a one-size-fits-all adhesive.
Placement is often overlooked. High-friction zones like elbows, knees, and cuffs put the adhesive under constant mechanical stress. Seams and curved surfaces prevent full contact during pressing, leaving air pockets that become lifting points. Collars and waistbands flex hundreds of times a day. For any of those locations, reinforcement stitching is not optional.
Laundering adds chemical and thermal stress on top of mechanical wear. Hot water softens thermoplastic adhesives. Tumble drying at high heat can partially re-melt the bond and then re-set it unevenly. Bleach and enzyme-based detergents degrade both the adhesive and the patch material over time.
Step-by-step application that gives you the strongest bond
The difference between a patch that lasts 10 washes and one that lasts 50 is almost always in the application. Follow these steps in order.
- Wash and dry the garment. Remove all fabric softener residue. Do not use dryer sheets before pressing.
- Pre-heat the fabric. Press the bare garment for 5–10 seconds to remove moisture and wrinkles from the application area.
- Position the patch. Place it adhesive-side down. Use a thin pressing cloth over the patch to protect the surface.
- Apply firm, even pressure. Press straight down. Do not slide the iron. Hold for 15–30 seconds at 300–350°F, or follow the specific instructions for your patch.
- Flip and press from the reverse. Turn the garment inside out and press the back of the application area for another 10–15 seconds. This drives adhesive deeper into the weave.
- Cool under weight. Set the garment flat and place a heavy book on the patch for at least 60 seconds.
- Test the bond. Gently try to lift one corner with your fingernail. If it resists, the bond is good. If it peels, re-press immediately.
A household iron works for occasional projects, but it has real limits. The soleplate temperature varies across the surface, and most people cannot apply consistent pressure for a full 30 seconds. A consumer heat press solves both problems with a flat, calibrated platen and a timer.
| Tool | Temperature Control | Pressure | Expected Longevity |
|---|---|---|---|
| Household iron | Inconsistent, varies by zone | Manual, uneven | Moderate lifespan |
| Consumer heat press | Consistent, dial-set | Even, adjustable | Better lifespan |
| Professional heat press | Calibrated, precise | Uniform, measured | High durability |
Pro Tip: Before laundering for the first time, wait 24 hours after pressing. The adhesive continues to cure as it fully cools, and that extra time measurably improves bond strength.
Laundry and wear care that extends patch life
How you wash and dry a patched garment matters as much as how you applied the patch. Following the garment’s care label is the baseline, but patches add a few extra considerations.
- Turn the garment inside out before every wash. This puts the patch face against the drum interior, reducing abrasion from other clothing.
- Use cold or warm water, gentle cycle. Hot water softens thermoplastic adhesives and can cause edge lifting over time.
- Skip the bleach. Bleach degrades both adhesive bonds and patch materials, especially embroidered thread and faux leather surfaces.
- Air dry when possible. High-heat tumble drying is the fastest way to shorten patch life. If you must use a dryer, choose low heat.
- Avoid folding the garment along patch edges. Repeated creasing at the edge of a patch creates a stress fracture in the adhesive over time.
- Test detergents for colorfastness on a hidden area before using a new product on a patched garment, especially with vibrant or dark patch colors.
These habits add up. A patch cared for this way can easily double its effective lifespan compared to one tossed into a hot wash and high-heat dry cycle.
How to make an iron-on patch permanent: sewing, adhesives, and reactivation
Iron-on adhesive alone is rarely enough for high-frequency workwear or garments that get washed more than once a week. The good news is that converting a heat-applied patch to a near-permanent installation takes about 10 minutes.
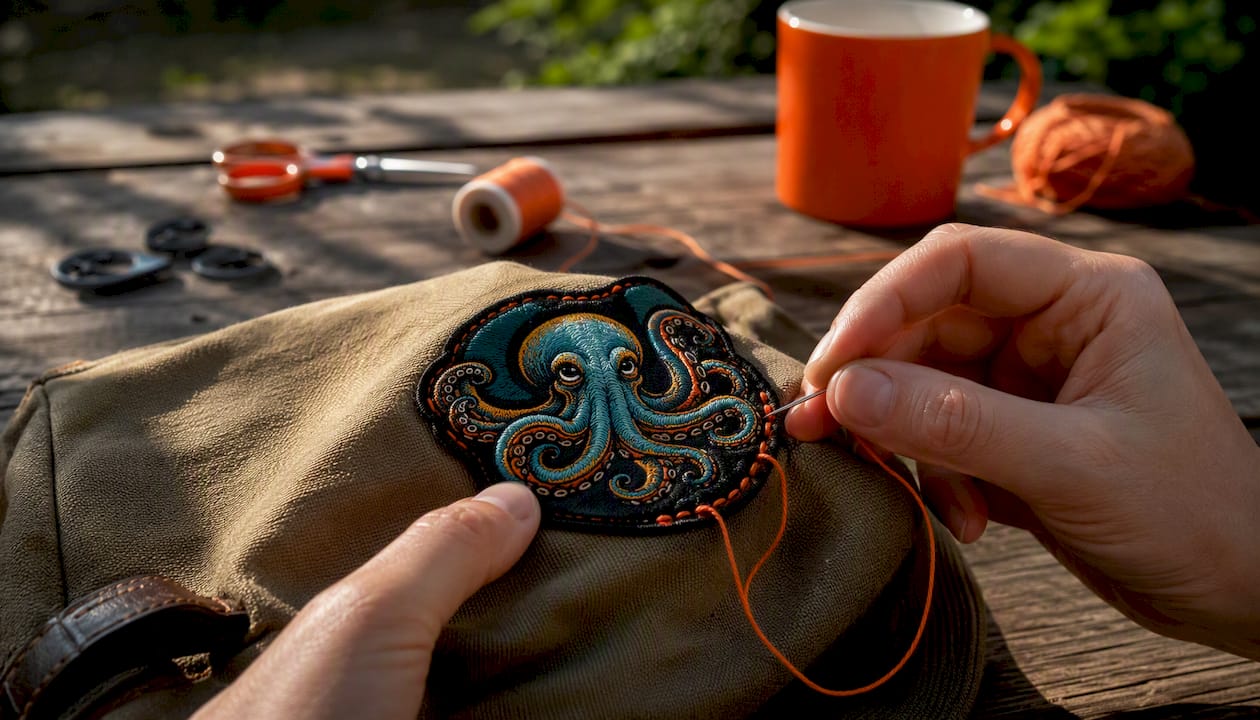
Sewing is the most reliable reinforcement. A simple running stitch or blanket stitch around the perimeter locks the edges in place even if the adhesive eventually weakens. Use a needle size matched to your fabric (a size 14 for denim, a size 11 for lighter cotton) and a thread weight that complements the patch material. Polyester thread holds up better than cotton in frequent washing. Promotional products experts recommend this perimeter stitch specifically for garments that will be laundered often.
Fabric glue and contact cement work well for spot repairs or when sewing is not practical. Neoprene-based cements, like those used in canvas patch repair kits, set quickly and form bonds that resist a wide temperature range. Apply a thin, even layer to both surfaces, let it tack for the time the manufacturer specifies (usually 5–15 minutes), then press firmly together. Full cure typically takes 24 hours. For fabric-specific adhesive guidance, upholstery repair techniques for durable fabric bonds translate well to patch reinforcement on heavier textiles.
Re-activation with heat works when the original adhesive is still intact but has partially released. Clean the area, re-position the patch, and press again with a heat press or iron at the original temperature and dwell time. If the adhesive has been exhausted through repeated re-pressing or the fabric is incompatible, re-heating will not restore the bond. In that case, remove the patch cleanly and start fresh with new adhesive or a replacement patch.
For garments that see daily wear, a combined approach works best: heat-apply first for positioning, then stitch the perimeter for permanence.
Quick fixes and when to replace a failing patch
Catching a lift early saves the patch. Here is how to triage the problem.
Small edge lift: Re-press the lifted area with an iron or heat press. Hold firm pressure for 20–30 seconds. If you do not have a heat tool handy, a small amount of fabric glue applied under the edge and pressed flat for 60 seconds buys time until you can re-press properly.
Center lift or bubbling: This usually means the adhesive did not fully bond during the original application, often from moisture or insufficient dwell time. Clean the area with a dry cloth, re-press from both sides, and cool under weight. If the center lifts again after a second press, the adhesive is likely exhausted or the fabric is incompatible.
Full adhesive failure: Remove the patch by heating it gently to soften the adhesive, then peeling slowly from one corner. Clean any residue with rubbing alcohol. Reapply with a new patch or reinforce the original with fabric glue and a perimeter stitch.
When to stop repairing: If the fabric under the patch shows thinning, pilling, or heat damage from repeated pressing, stop. Continued high-heat application on weakened fabric risks burning or tearing. At that point, a sewn-on replacement or a new garment section is the right call.
A safety note: never use an open flame or a heat gun directly on synthetic fabrics like nylon or polyester. These materials can melt or release fumes at temperatures well below what a heat press uses. Stick to a calibrated iron or press, and always use a pressing cloth as a buffer.
Why professionally made heat-applied patches often last longer
The lifespan gap between a professionally made heat-applied patch and a generic iron-on comes down to three things: adhesive quality, material matching, and application precision.
Professional heat-applied patches use industrial-grade thermoplastic adhesives engineered for specific fabric types and wash conditions. The backing is matched to the patch material, so a faux leather patch gets a backing that flexes with it rather than cracking at the edges. Engineered adhesive and curing processes consistently outperform general-purpose options in temperature resistance and bond longevity. The same principle drives the durability difference in apparel patches.
Octopatches applies this at the production level. Every patch is made with calibrated time, temperature, and pressure settings, and the material options (faux leather, denim, carbon fiber, canvas, camo, and more) each come with a backing matched to that material’s flexibility and weight. Before you commit to a full order, comparing patch styles helps you match the right material and backing to your specific fabric and use frequency, which is exactly the kind of decision that prevents early adhesive failures. Octopatches also publishes exact application instructions so you apply the patch correctly the first time.
The trade-off most people skip when choosing a patch method
There is a version of this conversation that gets skipped in most guides: the honest trade-off between convenience, appearance, and permanence.
Iron-on patches are genuinely good for a lot of situations. A quick brand update on a canvas tote, a decorative patch on a low-frequency-wear jacket, a prototype for a new design before committing to a sewn run. For those use cases, a well-applied iron-on is the right tool and the extra effort of sewing is unnecessary.
But people often reach for iron-on when they should be sewing, because sewing feels harder. The practical rule is simple: if the garment gets washed more than once a week, sew the perimeter. If it is workwear or a uniform that takes real abuse, sew the whole patch or buy sewn. If it is branded apparel that needs to look sharp through 30+ washes, a professional heat-applied patch from a supplier with calibrated equipment is the better investment.
The mistake is not choosing iron-on. The mistake is choosing iron-on and then expecting it to perform like a sewn patch without any reinforcement.
Durable custom patches, made your way with Octopatches
You now know what separates a patch that lasts from one that peels after a few washes. When you want that durability built in from the start, Octopatches custom heat-applied patches are made with industrial-grade adhesive and no minimum order requirements. Choose from faux leather, denim, carbon fiber, canvas, camo, and more. Every material option comes with the right backing for that texture, so you are not guessing at compatibility.
Start by trying out the patch builder or order a sample pack. OctoPatches adhere great to hats, jackets, canvas, tote bags and so much more!
Sources
- How Long Do Patches Last on Clothes? | Promotional Products Blog
- Complete guide to clothing care labels
- KBS Patch Fiberglass Repair Patch Kit | UV Cure | KBS Coatings
- S-18 All-Purpose Cement: The Most Durable Canvas Adhesive