

Yes, polyester accepts heat-press patches, but only when you pair the right patch construction with conservative heat settings and a protective pressing technique. Push the temperature too high or hold the press too long, and you’ll melt the fibers into a shiny, warped mess. Too cool or too quick, and the patch peels off in the wash. Get the balance right, and you’ve got a fast, sew-free way to brand hats, jackets, and bags.
- Yes: polyester works with heat-seal patches rated for synthetics.
- Biggest risk: overheating causes shine or melting; underheating causes peeling.
- Fix: use a protective press cloth and stay conservative on temperature.
- Best use case: branding, hats, and small-run customization, not heavy industrial gear.
Key Takeaways
Polyester holds a heat-press patch permanently only when temperature, dwell time, and pressure stay within a conservative range built for synthetic fabric.
| Point | Details |
|---|---|
| Confirm patch and fabric match | Use heat-seal patches or backings rated for synthetics, not cotton-only adhesives. |
| Keep heat conservative | Target roughly 270°F (130°C) with 10 to 15 second dwell times to avoid melting or shine. |
| Protect the surface | Always press through a cloth or Teflon sheet, and consider a heated lower platen for even adhesion. |
| Reinforce heavy-wear items | Add perimeter stitching for patches facing daily wear or industrial laundering. |
| Outsource for scale or texture | Octopatches offers no-minimum custom heat-applied patches in multiple faux materials for consistent results without buying a press. |
Table of Contents
- Which Patch Materials Actually Work on Polyester?
- What Temperature and Pressure Settings Work Best on Polyester?
- How Do You Apply a Polyester Heat Press Patch Step by Step?
- How Do You Wash Polyester Without Ruining the Patch?
- Why Is My Patch Peeling, Shiny, or Leaking Adhesive?
- Is DIY Patching Right for You, or Should You Outsource?
- Order Custom Heat-Applied Patches Without the Trial and Error
- Sources
Which Patch Materials Actually Work on Polyester?
Not every patch is built for synthetic fabric, and picking the wrong one is the fastest way to waste a good hat or jacket. Here’s what actually holds up:
- Heat-seal transfer patches and sublimation blanks work well on smooth polyester surfaces and hold fine under light-to-moderate wear. Blank multipacks marketed for DIY iron-on projects are a low-risk way to test your process on hats, shirts, and jackets before committing to a bigger run.
- Woven and embroidered heat-applied patches deliver more durability, but only when applied with correct settings and, ideally, a heated lower platen for even adhesion.
- Adhesive backing matters more than the patch design. Look for backings formulated for synthetics; anything meant for cotton alone tends to underperform on polyester’s tighter weave.
If you’re weighing patches against other decoration methods, this comparison of screen printing and embroidery is worth a look before you commit to one technique for a whole product line. And if you want to sample textures beyond plain polyester, faux leather and denim finishes are worth comparing side by side since no-minimum ordering makes small test runs realistic.
What Temperature and Pressure Settings Work Best on Polyester?
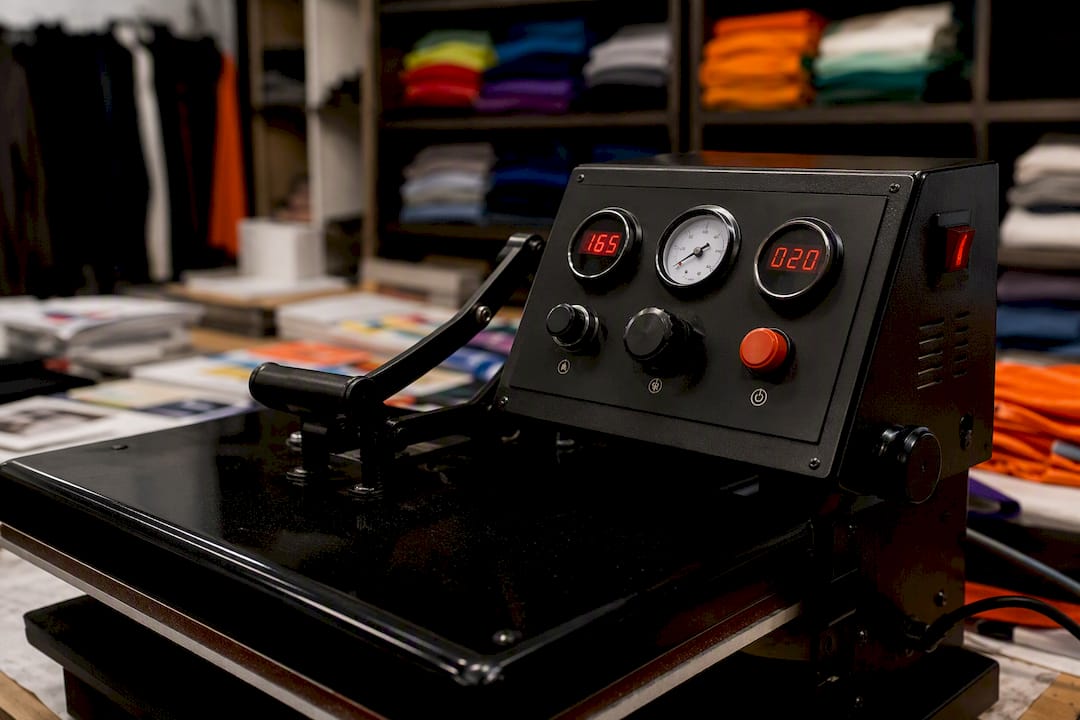
A household iron gets you through a one-off test, but it can’t hold consistent pressure or a stable temperature the way a flat heat press does. If you’re branding more than a handful of items, invest in a press. Repeatability is what separates a professional-looking batch from a pile of inconsistent seconds.
Polyester punishes sloppy heat control. Cotton tolerates a wide margin of error; polyester does not. The conservative range that works for most heat-seal patches sits around 270°F (130°C), with dwell times of just 10 to 15 seconds, well below the settings you’d use on a cotton tee.
Pro Tip: Always run a scrap-fabric test before pressing your real garment. Polyester’s melting point is closer than you think, and a 15-second test costs you nothing.
- Set the press to a medium pressure setting, not maximum.
- Place a protective pressing cloth or Teflon sheet between the platen and the patch every time.
- Skip the temptation to “just push it a little hotter” to save time; that’s exactly how shine and melt marks happen.
- Consider a press with a heated lower platen, since preheating from both sides activates adhesive more evenly without cranking the upper platen to a riskier temperature.
Suppliers of woven patches frequently recommend a preheat cycle for both the garment and the lower platen, often in the range of 20 to 60 seconds in industrial settings, specifically because synthetic fibers respond better to gradual, even heat than to a sudden blast from one side.
How Do You Apply a Polyester Heat Press Patch Step by Step?
Once your settings are dialed in, the actual application is quick. Here’s the workflow that keeps results consistent from patch to patch.
- Prep the garment. Wash and fully dry it first. Any moisture or lint under the patch weakens adhesion. Lay the fabric flat and give it a quick preheat pass with the press, just a few seconds, to drive off any lingering moisture and warm the fibers.
- Position and protect. Place the patch exactly where you want it and hold it with a strip of masking tape or heat-resistant tape so it doesn’t shift. Cover it completely with a press cloth or Teflon sheet.
- Press with intention. Apply your target temperature, time, and medium pressure. If the patch feels loose at the edges after the first press, a brief second pass at a slightly lower temperature often finishes the job without adding melt risk.
- Cool before you touch it. Let the garment sit undisturbed until it’s fully cool. Flexing warm fabric while adhesive is still soft is one of the most common reasons a patch lifts within the first week.
- Inspect the edges. Run a finger around the perimeter. Any lifting means you either re-press with a touch more time, or reinforce with stitching if the item is headed for heavy use.
Pro Tip: Never skip the cooldown step. Adhesive on synthetic backing needs to solidify fully before it can handle stretching, folding, or a trip through the dryer.
How Do You Wash Polyester Without Ruining the Patch?
Durability doesn’t end when the press lifts. What you do in the laundry room over the next few months matters just as much.
- Turn the garment inside out and wash on a gentle, low-heat cycle.
- Skip high-heat drying entirely. Air dry or use the lowest tumble setting, since heat stress on the adhesive compounds over repeated cycles.
- Avoid chlorine bleach and harsh solvents; stick to mild detergents.
- Expect solid performance for medium-wear items like branded hats or jackets worn occasionally.
- For anything headed into daily industrial laundering, add a line of perimeter stitching after the heat application. That single step dramatically extends the life of a patch that would otherwise wear loose over dozens of wash cycles.
Why Is My Patch Peeling, Shiny, or Leaking Adhesive?
Most patch failures trace back to one of three causes, and each has a straightforward fix.
- Peeling edges usually mean underheating or uneven pressure. Re-press with medium pressure at a slightly higher temperature for a short burst, then stitch the perimeter if the garment will see regular abrasion.
- Glossy or melted fabric is the unmistakable sign of overheating. Stop pressing immediately, let the garment cool and relax, and switch to a thicker pressing cloth on your next attempt.
- Adhesive seepage around the patch edges happens when pressure runs too high or the patch sat too long under heat. Wipe the excess gently with a cloth while it’s still warm, and use a full protective cover next time.
- Severe misalignment calls for a harder decision: remove the patch following the manufacturer’s guidance, or cover it with a fresh patch and reinforce with stitching so the repair doesn’t show.
Pro Tip: If a patch keeps failing even after you’ve nailed the settings, the adhesive chemistry itself might be the problem. Some cold-bond adhesives don’t activate properly on PU-coated polyester, so a different patch backing may solve what better technique alone can’t.
Is DIY Patching Right for You, or Should You Outsource?
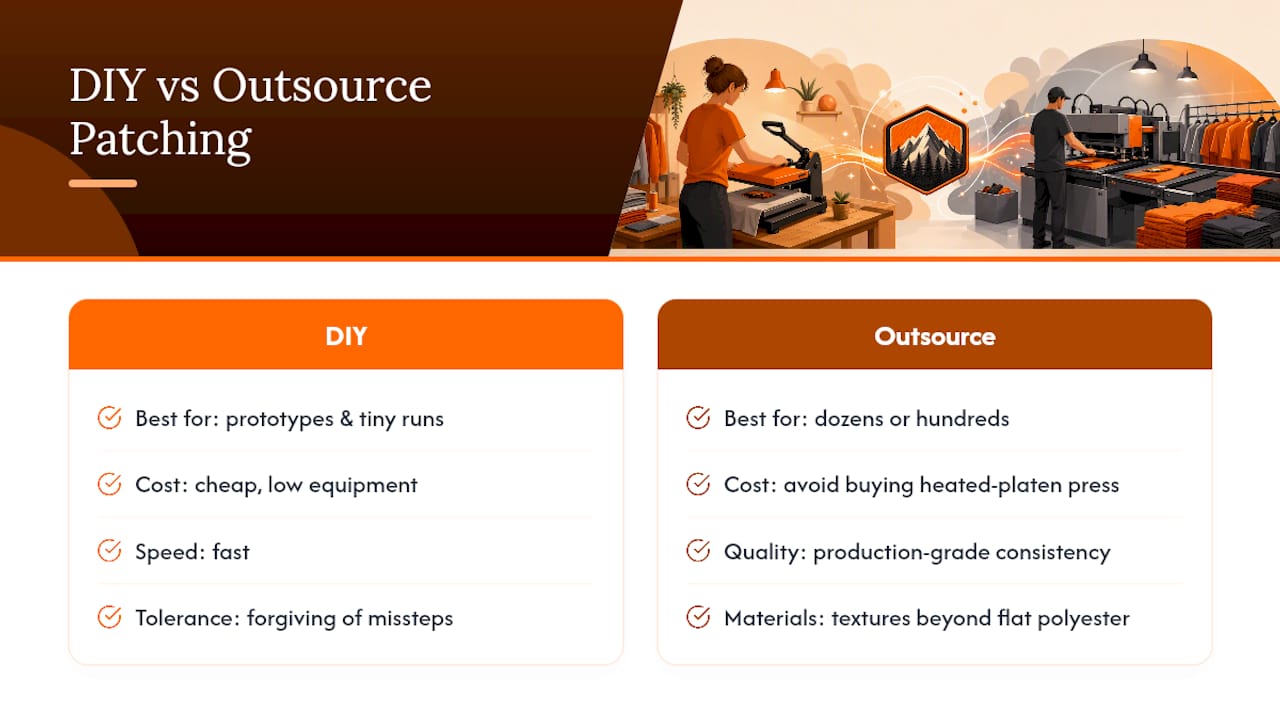
DIY heat pressing earns its place with prototypes and tiny runs, where you’re testing a design or handling a dozen hats for a local event. It’s cheap, fast, and forgiving of a few missteps along the way.
Once you need consistent branding across dozens or hundreds of units, or you want textures beyond flat polyester, leather, denim, carbon fiber, the math changes. Buying and calibrating a heated-platen press for that volume rarely pencils out for a small operation. That’s the gap a no-minimum specialist fills: production-grade consistency without the equipment investment.
— OctoPatches
Order Custom Heat-Applied Patches Without the Trial and Error
Octopatches skips the guesswork of dialing in your own press settings. Every custom patch ships pre-calibrated for heat application, in faux leather, denim, carbon fiber, canvas, camo, and more, with no minimum order standing between you and your first batch.

If you want to feel out materials before committing to a design, order a sample pack and see how each finish presses onto your actual garments. Designers who need artwork cleaned up for production can add professional design setup instead of reformatting files themselves. And once your patches arrive, the Instructions page walks through application specifics tailored to each material, so you’re not guessing at temperature and dwell time the way you might with an unbranded blank patch. Start by browsing OctoPatches and picking the material that fits your next run.